Copying User Data to a Table
Note: Be sure to set the required Internet Explorer options so you can successfully use this feature with IE. See “Setting Internet Explorer (IE) Options for Copy Data to Table” .
To copy the user data
|
1
|
Click Account > User Profiles.
|
The User Profiles - User List page, displaying a list of all users for the account.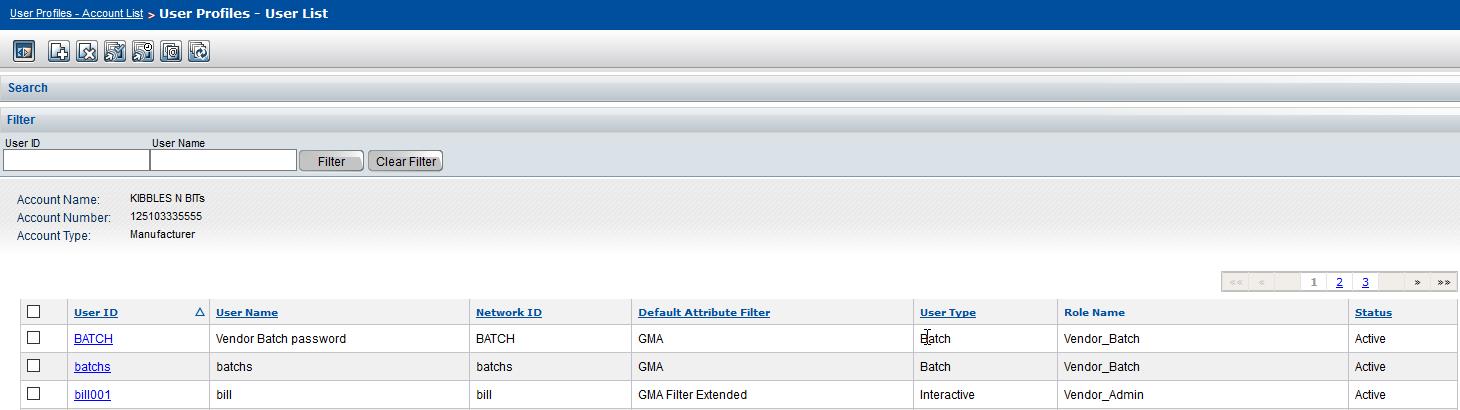
|
2
|
On the User List page, click Copy Data to Table.
|
|
|
A table opens displaying the user data. Go to Step 4 (you can skip Step 3 unless the File Download dialog box opens).
|
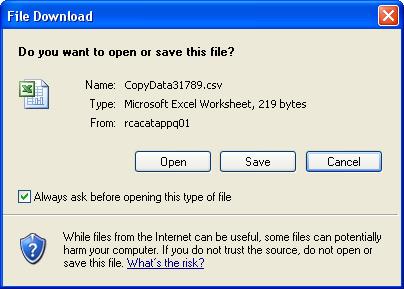
Note: The File Download dialog box will always open unless you deselect the Always ask before opening this type of file check box. This prevents the “Do you want to open or save this file” question from being asked every time you want to copy data to a table. Continue with Step 3.
|
|
Save - To save the file as a CSV text file that you can open later in Microsoft Excel, click Save. The Save As dialog box opens.
 |
|
|
In the File name box, enter a name for the file. The file name should have a .csv extension. For example,
MensShirts.csv |
|
|
Click Save. The file is saved to the location you selected.
|
|
|
Cancel - To cancel your action, click Cancel.
|

To save your changes, click Yes. The Save As dialog box opens. 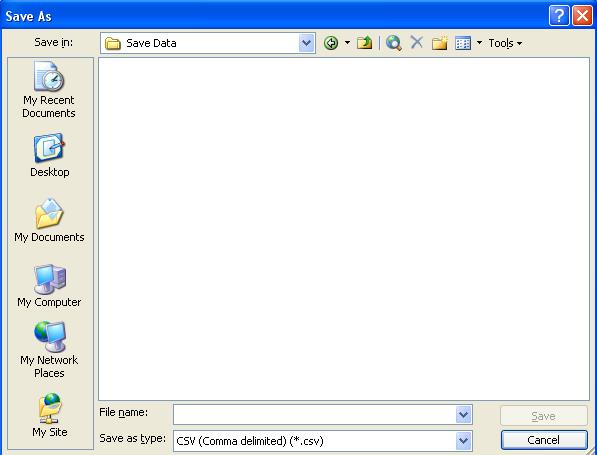
|
|
In the File name box, enter a name for the file. The file name should have a .csv extension. For example,
MensShirts.csv |
|
|
Click Save. The file is saved to the location you selected.
|